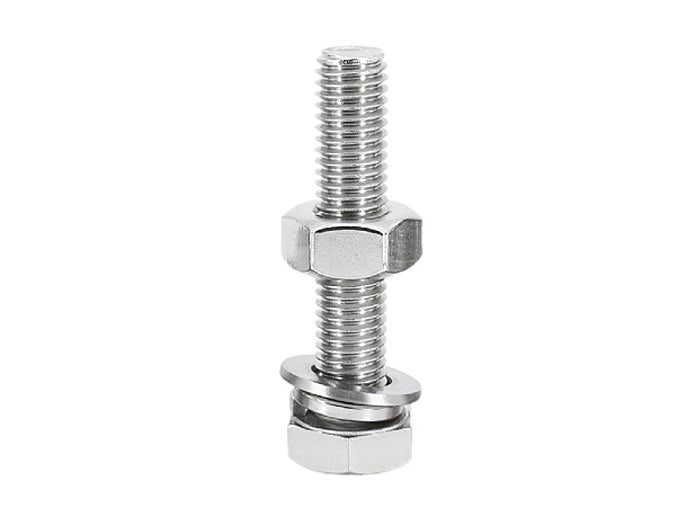
The installation method of expansion screws mainly includes the following steps:
Preparation tools: First, prepare a hand drill, a hammer, and an alloy drill bit that matches the diameter of the expansion screw.

Drilling: Use a hand electric drill to drill holes on the wall at the required depth, which should be equivalent to the length of the bolt to ensure that the expansion screw can be fully inserted and fixed.
Install the expansion screw: Insert the kit of the expansion screw into the hole, being careful not to tighten the nut too early to avoid difficulty in removing it.
Fixed items: Align the items that need to be fixed (such as hooks, racks, etc.) with the expansion screws, use a wrench or screwdriver to place the gasket and fixture on the same plane and tighten them, and finally remove the nut.
The precautions for installing expansion screws include:
Ensure installation on stable walls and avoid using on soft walls to prevent detachment.
Do not tighten the nuts too early during early construction to avoid difficulty in removing them during drilling.
Special expansion screw installers can be used to simplify the installation process, especially for users who are not familiar with installation.
The above steps and precautions can help users correctly install the expansion screw, ensuring its firmness and safety.


